

Installing an accordion door yourself isn’t just a technical task — it’s a gentle, almost meditative process where every movement shapes the space around you. Unlike heavy wooden or metal doors that demand brute force or expensive installation, an accordion door invites creativity — and https://indigodoors.com/ can easily become your starting point for ideas and models. It folds gracefully, moves silently along a track, and instantly rearranges the dynamics of a room. Suddenly, a narrow hallway feels more open, a small room becomes more practical, and a once unused closet becomes accessible and neat.
There is something deeply satisfying in doing it with your own hands: measuring the doorway, attaching the rollers, guiding the panels into place. The project doesn’t rush you — it invites you to understand how every piece works. With every screw tightened and every panel aligned, you start to feel the door becoming part of your interior.
What You Need Before You Begin
Before installation begins, your workspace becomes a little workshop — a temporary zone where accuracy, tools, and patience intersect. Clear a small area, prepare a table or even a clean floor section, and lay out every component. Accordion doors come with tracks, rollers, panels, and screws that must work in harmony, so knowing where each element is helps you assemble everything without confusion.
Every tool you prepare now prevents frustration later. For example, a screwdriver saves your hands from unnecessary strain, while a level ensures your track isn’t slightly tilted — because even a tiny angle can affect the door’s glide.
Essential tools and materials
• measuring tape to capture accurate dimensions
• pencil or marker to create clear guiding marks
• hacksaw for trimming the length of the track
• electric or manual screwdriver for assembly
• level to guarantee perfect alignment
• screws included in the kit
• the complete accordion door set with all panels, rollers, and hardware
Having everything close by creates a sense of calm focus — the feeling that everything is under your control, and all that’s left is steady, enjoyable work.
Measure the Door Opening Correctly
Measuring the doorway is the silent beginning of this entire project. It seems simple, yet it holds enormous importance. A quarter inch off can make the track too long or too short, the panels too tight or too loose. So approach this step slowly, with attention.
Walk up to your doorway as if greeting it — feel its width, height, and the small imperfections that only a tape measure can reveal. Walls are almost never perfectly straight, and doorframes often shift slightly with time, humidity, or previous renovations.
What to measure
- width of the opening at the top, middle, and bottom
- height of the opening from floor to top frame
- depth of the frame
- unevenness or asymmetry in the walls
- floor variations that may influence door movement
This is the moment when you get to know your doorway intimately. By the time you finish measuring, you understand its shape and personality — and this knowledge becomes the foundation of your installation.
Measuring correctly gives you confidence that the door will hang evenly, close properly, and glide without resistance.
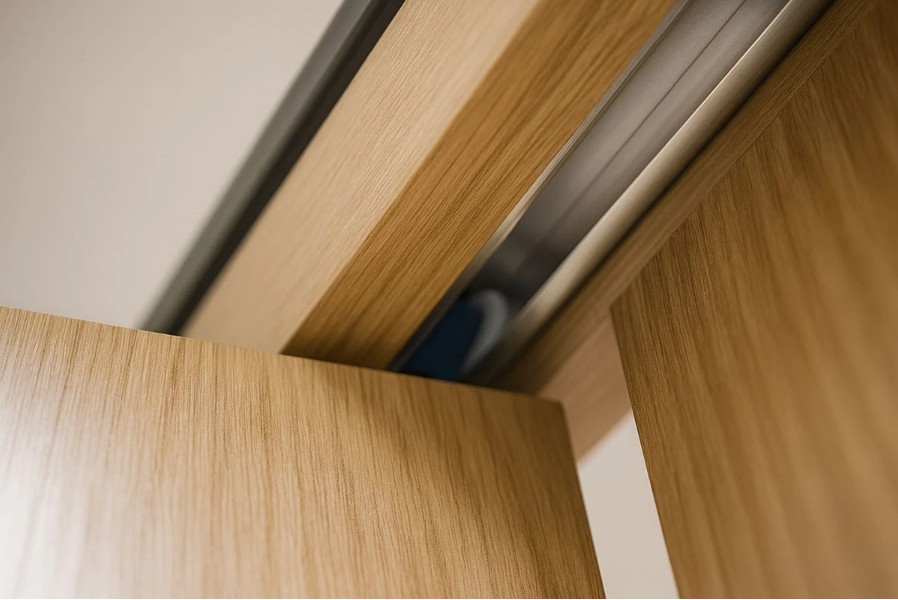
Prepare the Top Track

The top track is not just a piece of metal — it is the guiding spine of your accordion door. It carries the weight of the panels, dictates their movement, and ensures the door behaves gracefully rather than awkwardly.
When you take the track in your hands, look at it closely: its straightness, its weight, the way rollers fit inside it. This track is the path along which your door will fold and unfold hundreds, even thousands of times.
Preparing the track includes
- measuring the exact length based on your doorway
- marking the cut line sharply and precisely
- cutting the track with a smooth, controlled motion
- removing burrs to ensure rollers glide smoothly
- holding the track against the doorway to test alignment
- using a level to verify perfect straightness
Treat the track with care — this is the main mechanical component of your installation. When the track is perfect, everything else becomes easier.
“A door glides beautifully only when its track is prepared with intention and accuracy.”
Install the Track Above the Opening
Installing the track is the first moment where your accordion door begins interacting with the space. This step requires patience and a calm hand — because even half a degree of tilt can change how the door moves.
Lift the track, position it gently at the top of the doorway, and imagine how the door will slide through it. This mental visualization helps you understand whether the track aligns naturally with the frame.
Steps to install the track
- hold the track against the top of the opening
- use a level to ensure perfect alignment
- mark where screws will go
- drill or pre-mark pilot holes if needed
- secure the track with steady, even pressure
- verify stability by tapping lightly along its length
When the track is finally in place, pause for a moment. This is the beginning of the door’s journey — now the rest of the installation will flow more naturally.
Attach Rollers and Hardware to the Door Panels
The panels of the accordion door are like the soft wings of a folding mechanism — and the rollers are what allow those wings to move. This step feels almost like assembling a delicate puzzle: aligning holes, securing screws, ensuring everything sits perfectly.
Rollers must be attached firmly, because they carry the entire weight of the panels as they glide. Connectors or hinges between the panels help them fold smoothly, creating the signature accordion motion.
Hardware that must be attached
• rollers that glide along the track
• hinges or connectors that join panels
• pivot pins that stabilize movement
• alignment hardware along the sides
• screws that hold everything in place
As you attach each component, you are essentially building the door’s skeleton — the inner structure that determines how gracefully the door will behave for years to come.
“Smooth folding begins with precise hardware — every screw becomes part of the movement.”
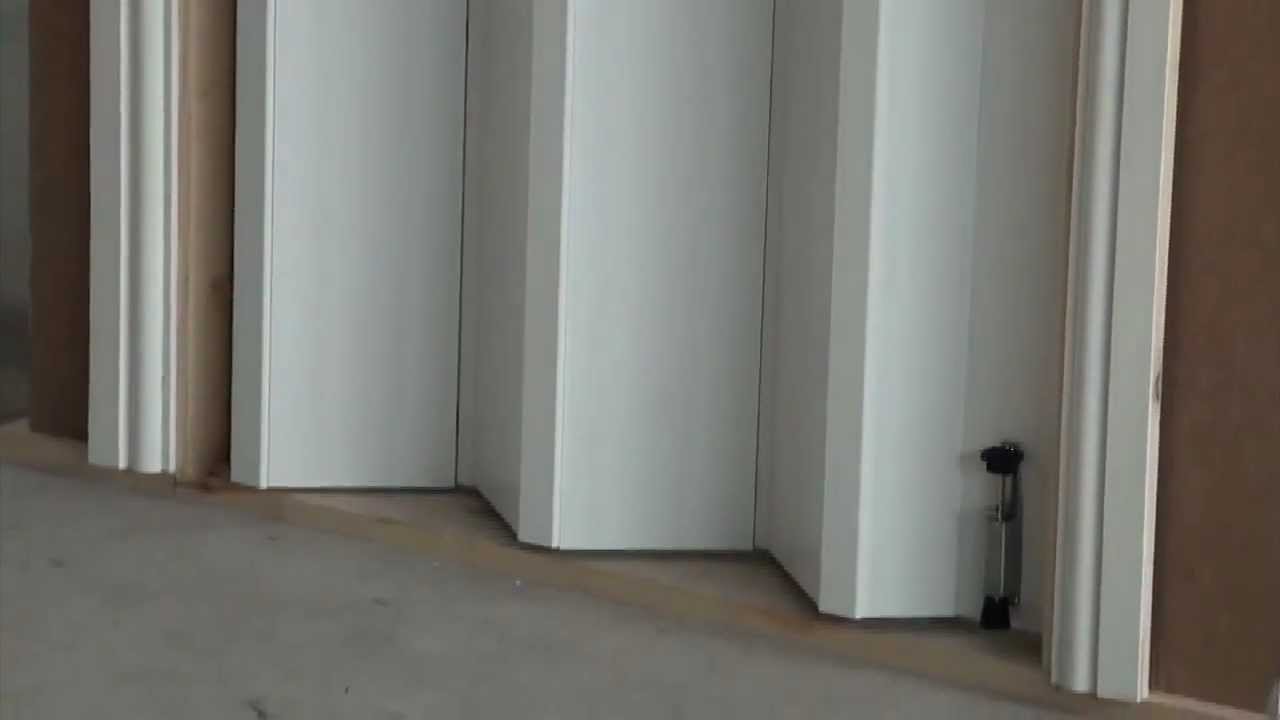
Hang the Door Panels Into the Track
This step is where installation becomes deeply satisfying. Lifting the panels, hearing the soft click as the rollers enter the track, and watching the door hang freely is the moment when everything starts to feel real.
You will sense the shift from assembling parts to experiencing a functioning door.
How to hang the panels
- lift the assembled door slowly and confidently
- guide each roller into the top track
- ensure every roller snaps into its position
- release the door gently to test movement
- fold and unfold the panels to observe motion
If the door glides smoothly, you’re already halfway to perfect installation. If it pulls or hesitates, don’t worry — small adjustments are normal and easy to fix.
This is the moment your work comes to life.
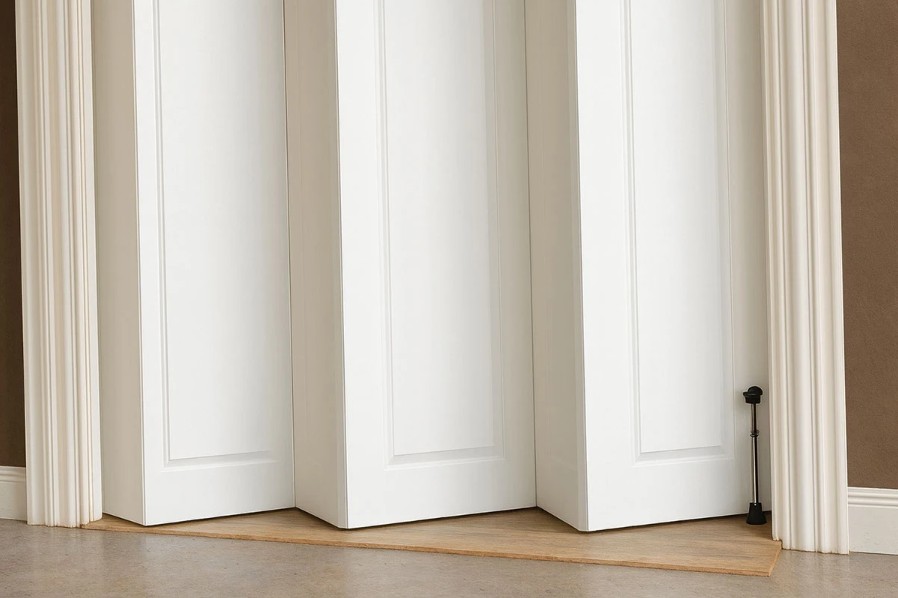
Install the Side Jamb or Frame Strip
The side jamb frames your accordion door like the border of a painting. It gives the door a defined place to close, makes the doorway look polished, and improves insulation by reducing gaps.
Positioning it correctly ensures the door closes with a satisfying, firm contact — not loose, not crooked, but perfectly aligned.
Installing the side jamb
• position the jamb vertically along the frame
• check alignment with a level
• mark screw locations
• secure the jamb without over-tightening
• test how the door closes against it
A straight, well-installed jamb turns the accordion door into a fully functional architectural element, not just a folding panel.
Attach the Handle and Lock (If Included)
A handle is the personal touch — the part of the door you interact with every day. Its position and feel matter more than most people think. You will touch it multiple times daily, so place it at a height that feels instinctive and comfortable.
Steps to install the handle
- mark the ideal handle height
- drill pilot holes if required
- screw the handle into place
- test grip, smoothness, and comfort
- attach lock hardware if included
Handles complete the installation with a sense of finality — the door now has a place to be opened and closed naturally.