

Let’s be honest: a powerful image or a compelling video often hinges on what’s behind the main subject. A cluttered, distracting, or just plain boring background can sink your content before it even has a chance to shine. Conversely, a perfectly chosen backdrop can elevate your message, set a professional tone, and captivate your audience. This is where the magic of a background maker comes into play.
Gone are the days when you needed a photography studio, expensive props, or advanced graphic design skills to create the perfect setting. Today, a background maker—whether it’s a dedicated online tool, a feature within design software, or an AI-powered platform—puts that power directly in your hands. This guide will walk you through everything you need to know about choosing and using these tools to transform your visual content.
What Exactly is a Background Maker?
At its simplest, a background maker is any tool or application designed to create, modify, or replace the background of an image or video. Its primary job is to separate the foreground subject (like a person, product, or logo) from its original background and place it onto a new, more suitable one.
This process serves multiple purposes:
- Professionalism: Creating clean, consistent backdrops for product photos or portrait shots.
- Creativity: Designing imaginative settings that wouldn’t be possible in real life.
- Branding: Incorporating brand colors, patterns, or logos seamlessly.
- Problem-Solving: Removing unwanted objects, mess, or poor lighting from an existing photo.
The Core Toolkit: Types of Background Makers
Not all background creators are built the same. Your choice will depend on your skill level, budget, and specific needs.
1. Online Background Removal Tools
These are the quick-and-easy solutions. You upload a photo, and the tool uses AI to automatically detect and remove the background, often in seconds.
- Best For: Beginners, quick tasks, e-commerce product photos.
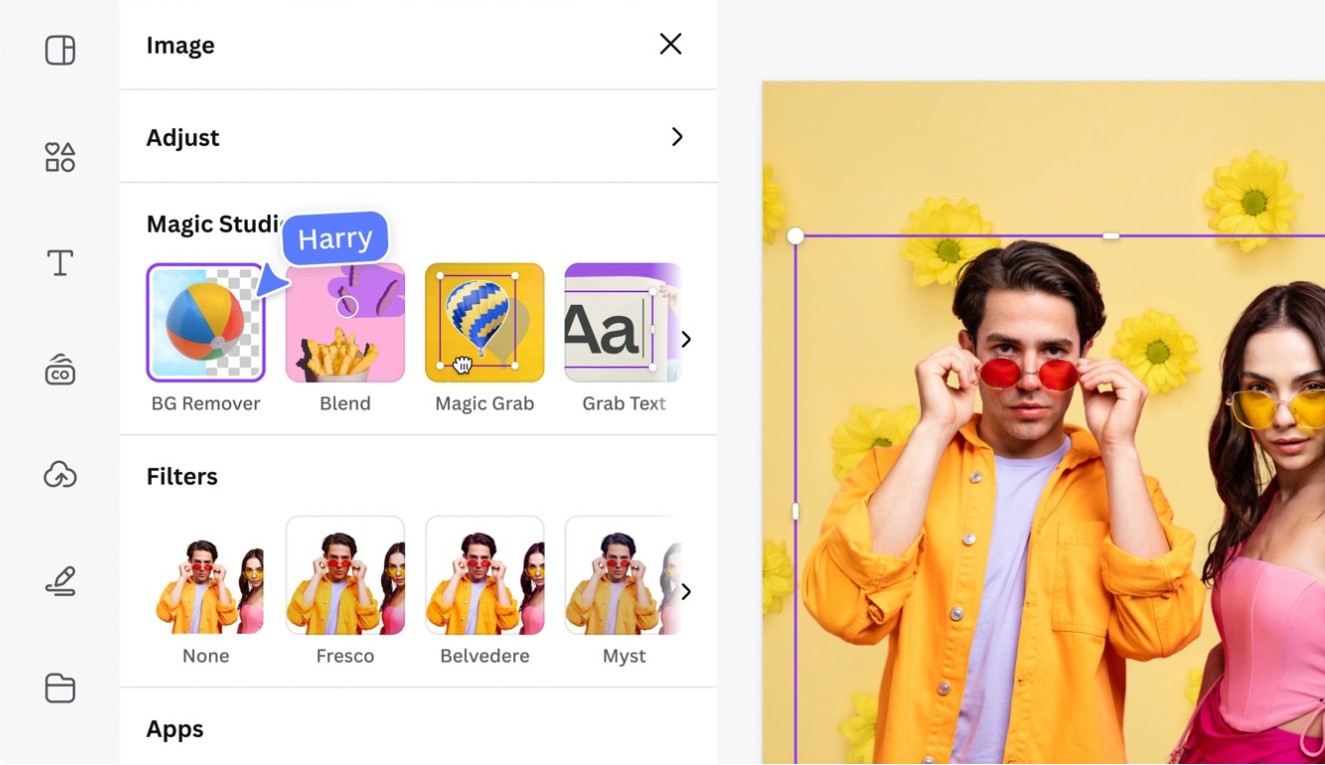
- Examples: Remove.bg, Adobe Express, Canva’s background remover.
- Pros: Incredibly fast, user-friendly, usually free for basic use.
- Cons: Less control over fine details (like hair or transparent objects), limited customization of the new background.
2. Full-Suite Graphic Design Platforms
Platforms like Canva, Adobe Express, and even more advanced tools like Adobe Photoshop include robust background editing features as part of a larger toolkit.
- Best For: Content creators, marketers, small business owners who need an all-in-one solution.
- Pros: Integrated workflows (remove bg, then design a new one in the same place), tons of templates, built-in graphics and photos.
- Cons: Can have a learning curve for advanced features, may require a subscription.
3. AI-Powered Image Generators
This is the cutting edge. Tools like Dall-E, Midjourney, or Adobe Firefly allow you to generate a background from a text description.
- Best For: Creating completely unique, artistic, or conceptual backgrounds that don’t exist in stock photo libraries.
- Pros: Unlimited creative potential, highly customizable via prompts.
- Cons: Can be unpredictable, requires skill in “prompt engineering,” may not always produce photorealistic results for professional use.
4. Specialized Video Background Tools
For video conferencing (Zoom, Teams) or video editing, tools like XSplit VCam, OBS Studio, or even built-in software effects allow for real-time background replacement or blurring.
- Best For: Video calls, webinars, online presentations, video content creators.
- Pros: Works in real-time, offers dynamic options (blur, virtual sets).
- Cons: Requires a good webcam and lighting for a clean “chroma key” effect (green screen).
Your Step-by-Step Workflow to Background Mastery
Follow this process to go from a raw image to a professionally finished piece.
Step 1: Capture the Best Possible Source Image
Even the best background maker needs a good starting point.
- Use good, even lighting to minimize harsh shadows on your subject.
- Maximize contrast. If you plan to remove the background, shoot your subject against a plain, contrasting wall (a plain white or grey wall is ideal).
- Use a high-resolution camera for crisp details.
Step 2: Choose Your Weapon (The Right Tool)
Refer to the table above. Ask yourself:
- Is this a one-time photo edit? → Use an online remover.
- Do I need to design a branded graphic around it? → Use a design platform.
- Do I want a fantasy landscape? → Try an AI generator.
Step 3: Remove the Existing Background
- In an online tool, simply upload and let the AI work.
- In a design platform, use the “Remove Background” or “Magic Eraser” tool.
- Pro Tip: Always check the edges of your subject (especially tricky areas like frizzy hair, glasses, or sheer fabric) and use fine-tuning tools like a brush to add or erase areas manually.
Step 4: Create or Select Your New Background
This is the creative stage. Your options are:
- Solid Color: Perfect for a clean, modern, professional look.
- Gradient: Adds depth and visual interest subtly.
- Branded Pattern: Use your brand’s colors and patterns.
- Stock Image: Choose a relevant scene (an office, a nature setting, a textured wall).
- AI-Generated Scene: Describe exactly what you need.
Step 5: Composite and Refine
Place your subject onto the new background. Now, refine:
- Scale and Position: Ensure your subject is the right size and placed according to design principles (like the rule of thirds).
- Match Lighting and Color: The biggest giveaway of a fake background is mismatched light. Use color correction tools to match the tone, temperature, and direction of shadows between your subject and the new backdrop.
- Add Subtle Effects: A slight shadow behind your subject can “ground” them and make the composite feel realistic.
Comparison: Choosing Your Path
| Feature | Online Removers (e.g., Remove.bg) | Design Platforms (e.g., Canva) | AI Generators (e.g., Midjourney) |
| Ease of Use | Very Easy | Easy to Moderate | Moderate to Difficult |
| Speed | Instant | Fast | Slow (generation time + iterations) |
| Creative Control | Low | High | Very High (but indirect) |
| Best For | Quick cuts, product photos | All-in-one design projects | Unique, conceptual artwork |
| Cost | Freemium | Freemium / Subscription | Subscription / Credits |
| Learning Curve | None | Shallow | Steep |
Creative Applications You Can Try Today
A background maker isn’t just for fixing bad photos. It’s a creativity engine.
- E-commerce: Create uniform white backgrounds for all your product listings.
- Social Media: Design eye-catching posts where you appear in front of bold graphics or themed backgrounds.
- Marketing Materials: Place your team members onto consistent branded backdrops for the “About Us” page.
- Virtual Events: Use custom virtual backgrounds for webinars that feature your logo and key messaging.
- Fun Personal Projects: “Travel” to the pyramids or a anime-style landscape for your next profile picture.
Frequently Asked Questions (FAQs)
Q: Is it ethical to change photo backgrounds?
A: In most personal, marketing, and e-commerce contexts, it is perfectly ethical as a tool for enhancement. However, transparency is key in journalism or real-estate photography, where altering backgrounds could be misleading.
Q: What’s the biggest mistake beginners make?
A: Neglecting to match the lighting and color tone between the subject and the new background. Always spend time on this refinement step for a believable result.
Q: Can I use a background maker for free?
A: Yes, absolutely. Many online tools offer robust free tiers with limitations (like watermarks or lower resolution). Canva and Adobe Express have free versions that include background removal.
Q: Do I need a green screen?
A: Not for static images with modern AI tools. For high-quality, real-time video background replacement, a green screen and proper lighting still provide the cleanest, most reliable result.
Q: What file format should I save in?
A: For images with transparent backgrounds (where you’ve removed the bg but not added a new one yet), always save as PNG. JPEG does not support transparency. Once your final image with a background is complete, JPEG is fine for web use.
Conclusion: Unleash Your Visual Potential
Mastering a background maker is like gaining a superpower for the digital age. It democratizes high-quality visual production, allowing anyone—from a small business owner to a social media enthusiast—to present their work in the best possible light. It removes limitations, solves problems, and unlocks a new layer of creative storytelling.
Start simple. Take an old photo and use a free online tool to place yourself in front of a sunset. See how it feels. Then, gradually explore the more powerful features of integrated design platforms. The journey to becoming proficient with these tools is one of experimentation and practice. Remember, the goal is not just to change a backdrop, but to enhance your message and connect more powerfully (Blogs) with your audience. So, open a tab, find a tool that suits you, and start creating the perfect stage for your ideas.